Содержание:
- Why git clone doesn’t copy all branches by default
- Commonly suggested methods (and their limitations)
- Solution: how to get downloaded all branches from a remote repository
- Step 1: clone the repository
- Step 2: edit the .git/config file
- Step 3: fetch all branches
- Step 4: check the list of branches
- Step 5: switch to the desired branch
- Why this works
Problem: have you executed a git clone, but only the main branch (main or master) is visible in the local repository? Are attempts to use git fetch --all or git branch -r not showing the rest of the branches? This is a common situation, and now we will figure out how to download all branches of the git repository correctly.
Why git clone doesn’t copy all branches by default
When you run git clone, Git downloads only the main branch (e.g., main or master). Other branches are not automatically fetched from the remote server. The problem can be solved by slightly modifying the file .git/config – and in this article, we’ll walk through exactly how to do that.
Commonly suggested methods (and their limitations)
Unfortunately, there’s no built-in command like git fetch all remote branches. As a result, many developers try combinations such as:
git fetch --all
git branch -r
But these often don’t work as expected:
git fetch --alldoesn’t allow you to download all deleted branches if the configuration is not configured correctly.git branch -rdoesn’t display all branches if Git doesn’t have references to them.
There are also some tips online that don’t always work in reality: for example, use the command:
git checkout --track -b local_branch_name origin/remote_branch_nameBut there is a caveat here: if git has not received links to all deleted branches (due to an incorrect .git/config configuration), the command will fail:
fatal: 'origin/branchname' is not a commit and a branch 'branchname' cannot be created from itI also note that an attempt to solve the problem using neural networks (DeepSeek, Qwen) did not lead to anything (╯°□°)╯︵ ┻━┻ 🙂
Solution: how to get downloaded all branches from a remote repository
Below is a full step-by-step guide for cloning; if you’ve already cloned the repo and just need to fetch missing branches, start from Step 2.
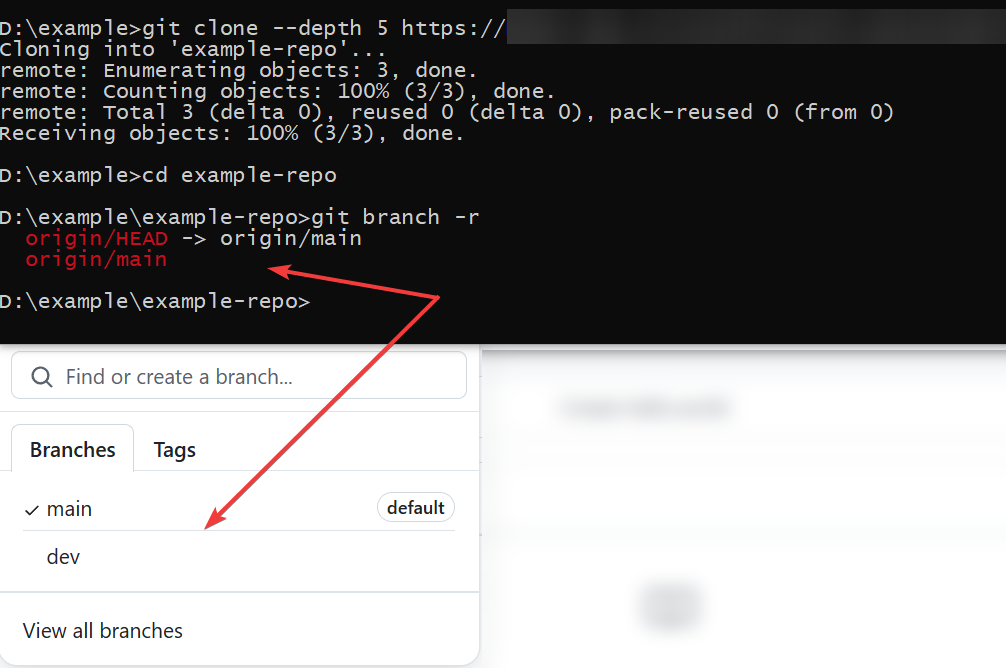
Step 1: clone the repository
Start with the basic command, which creates a local copy of the repository, but for now only with the main branch:
git clone <repo_URL>
# or
git clone --depth 5 https://username:password@github.com/username/repository.git
The --depth 5 flag limits the clone to the last 5 commits instead of the full history. You can use a token instead of a password.
Step 2: edit the .git/config file
After cloning, open the file .git/config file in a text editor. Look for a line like:
fetch = +refs/heads/master:refs/remotes/origin/masterReplace it with:
fetch = +refs/heads/*:refs/remotes/origin/*Example: before – after
# before
[remote "origin"]
        url = https://github.com/John/project1
        fetch = +refs/heads/master:refs/remotes/origin/master

# after
[remote "origin"]
        url = https://github.com/John/project1
        fetch = +refs/heads/*:refs/remotes/origin/*
This setting tells Git to fetch all branches from a remote repository.
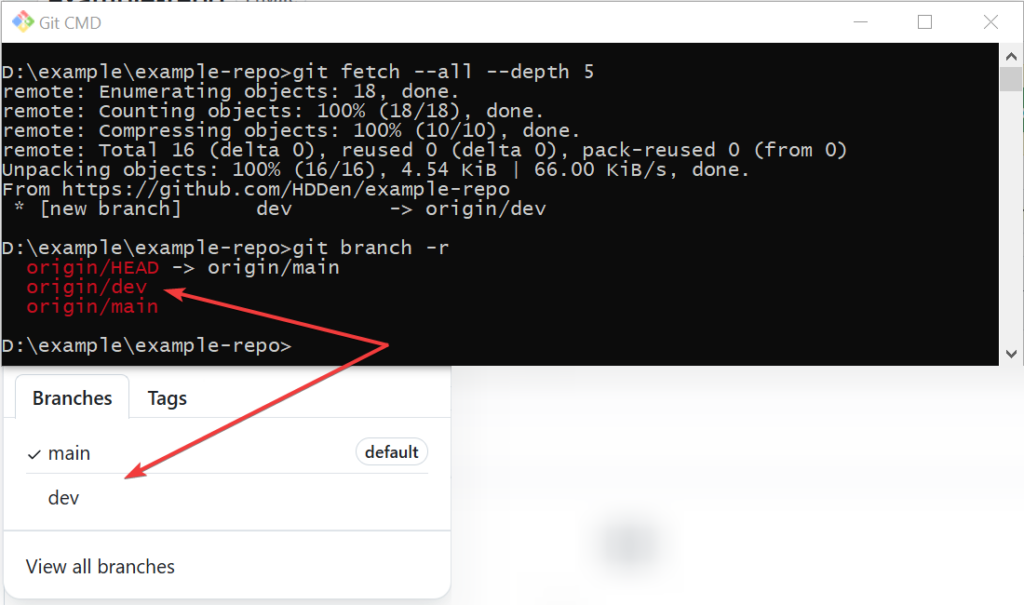
Step 3: fetch all branches
Now run:
git fetch --all # Optional: add --depth 5 to limit history per branchThis will fetch or update all remote branches, including missing.
Step 4: check the list of branches
To confirm all branches were fetched, run:
git branch -rYou should now see all available branches, such as origin/feature, origin/dev, etc.
Step 5: switch to the desired branch
To work on a specific branch:
git checkout branchname # replace "branchname" with the actual branch nameCongratulations! All branches are now accessible.
Why this works
- The
fetchparameter in the config determines which references (branches) Git tracks. - Setting it to
+refs/heads/*means Git will synchronize all branchesfrom the remote repository.
